

If you’re standing in an aisle or staring at a checkout screen right now, here’s the short version. Eyeglasses: find the three tiny numbers stamped inside the temple arm (lens width, bridge width, temple length), check that the bridge doesn’t pinch or slide, and confirm the lenses actually cover your eye when you look side to side. Picture frames: pick the closest standard inner opening (like 11x14) and let a mat close the gap instead of hunting for an exact match. Bikes: measure your inseam, run it through an inseam based calculator, then double check the manufacturer’s reach and stack numbers before you swipe your card. Three very different objects, three fast rules.
- Eyeglasses: decode the three-number code, then check bridge fit.
- Picture frames: buy the nearest standard size, use a mat to bridge the rest.
- Bikes: inseam gets you close, reach and stack confirm it.
Key Takeaways
Correct frame sizing always comes down to measuring the right reference point first, whether that’s a bridge width, a mat opening, or a bike’s reach and stack.
| Point | Details |
|---|---|
| Decode the three numbers | Lens width, bridge width, and temple length control how glasses sit on your face. |
| Buy standard, mat the rest | An 8x10 print fits an 11x14 frame with a 2 inch mat and a quarter-inch overlap. |
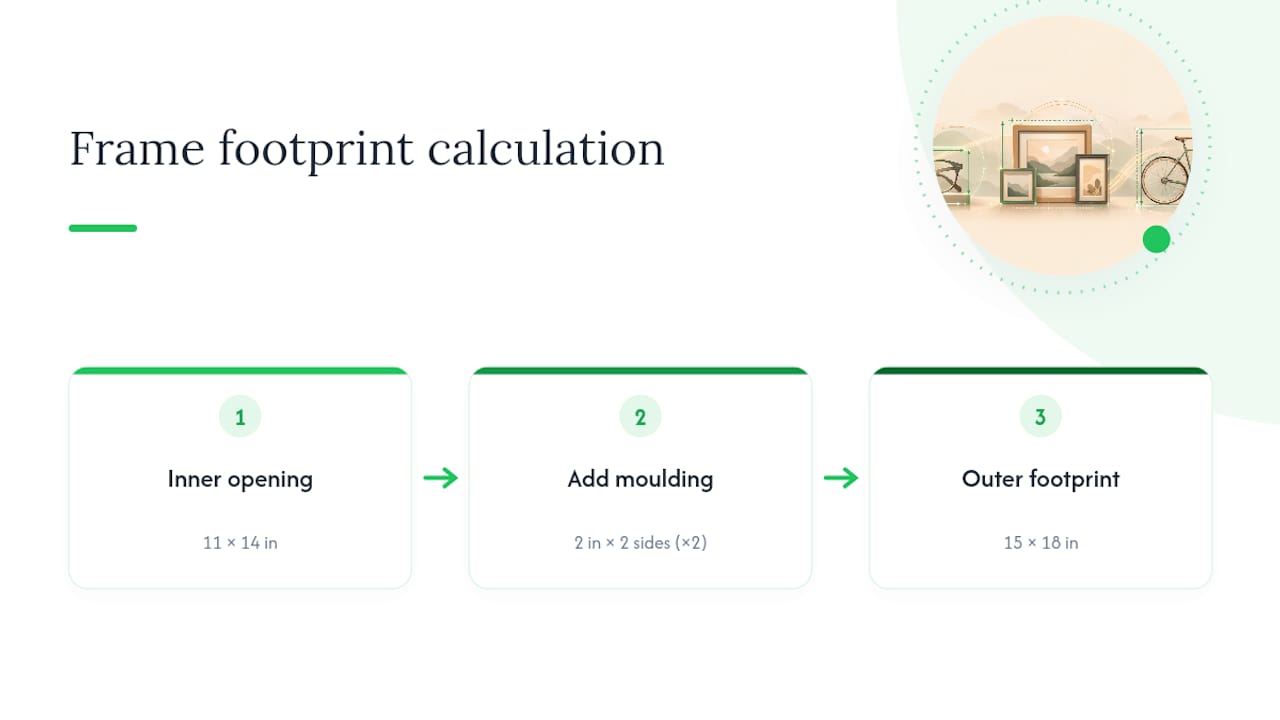
| Know inner vs. outer size | Outer footprint equals inner opening plus twice the moulding width. |
| Verify with reach and stack | Match a known-good bike within 10 mm reach and 15 mm stack, not just the size label. |
| Choose ready-sized devotional art | Divine Prints frames devotional prints in standard 8x10, 11x14, and 16x20 openings for a fit without custom framing. |
Table of Contents
- How Do You Read an Eyeglass Frame Size Guide?
- What Are the Standard Picture Frame Sizes?
- How Do You Size a Bicycle Frame Correctly?
- How Divine Prints Sizes Framed Devotional Art
- Sources
How Do You Read an Eyeglass Frame Size Guide?
Flip a pair of glasses over and look inside the temple arm. You’ll usually find three numbers separated by a dash or square symbol, something like 52 □ 18 145. Those are lens width, bridge width, and temple length, all in millimeters, and each one changes how the glasses actually sit on your face. Lens width is the horizontal measurement of each lens. Bridge width is the gap between the lenses that rests on your nose. Temple length is the arm that runs from the hinge back to your ear.
Here’s a home routine that gets you shockingly close to an optician’s numbers:
- Stand in front of a mirror and use a soft tape measure or a ruler with millimeter marks.
- Measure straight across your face from the outer corner of one eye to the outer corner of the other. This rough face width helps you guess lens and bridge totals.
- For pupillary distance (PD), look straight ahead and measure from the center of one pupil to the center of the other. Most adults land between 54 and 74 millimeters.
- Check where an existing pair sits: frames should rest just below your eyebrows and stay clear of your cheekbones when you smile.
- Watch for red flags. If the bridge leaves red marks or the glasses constantly slide down, the bridge width is too narrow for your nose. If they pinch at your temples, the lens width is too small.
Nose pads and slightly bent temple arms are easy fixes an optician can handle in minutes. If a frame still slips after adjustment, the problem usually isn’t the fit, it’s the wrong bridge width entirely.
Pro Tip: Take a photo of the numbers inside your current, comfortable pair before you shop. Matching that bridge width first eliminates most fit complaints before you even try anything on.
What Are the Standard Picture Frame Sizes?
You don’t need custom framing for most prints. The sizes that dominate American frame shops are 4x6 and 5x7 for photos, 8x10 for portraits and smaller art, 11x14 for larger prints and posters, 16x20 for statement pieces, and 24x36 for full posters. These are the standard picture frame sizes nearly every retailer stocks, which matters because stock frames cost a fraction of custom ones.
One detail trips people up constantly: the size printed on a frame box refers to the inner opening, the space where your glass and backing sit, not the frame’s total footprint on your wall.
A mat solves the gap between what you printed and what’s on the shelf. Say you have an 8x10 print but only an 11x14 frame in stock. A 2 inch mat border on each side converts the opening from 8x10 down to fit your print perfectly, and that same mat typically overlaps the print’s edge by about a quarter inch on each side to hold it in place without letting it fall through.
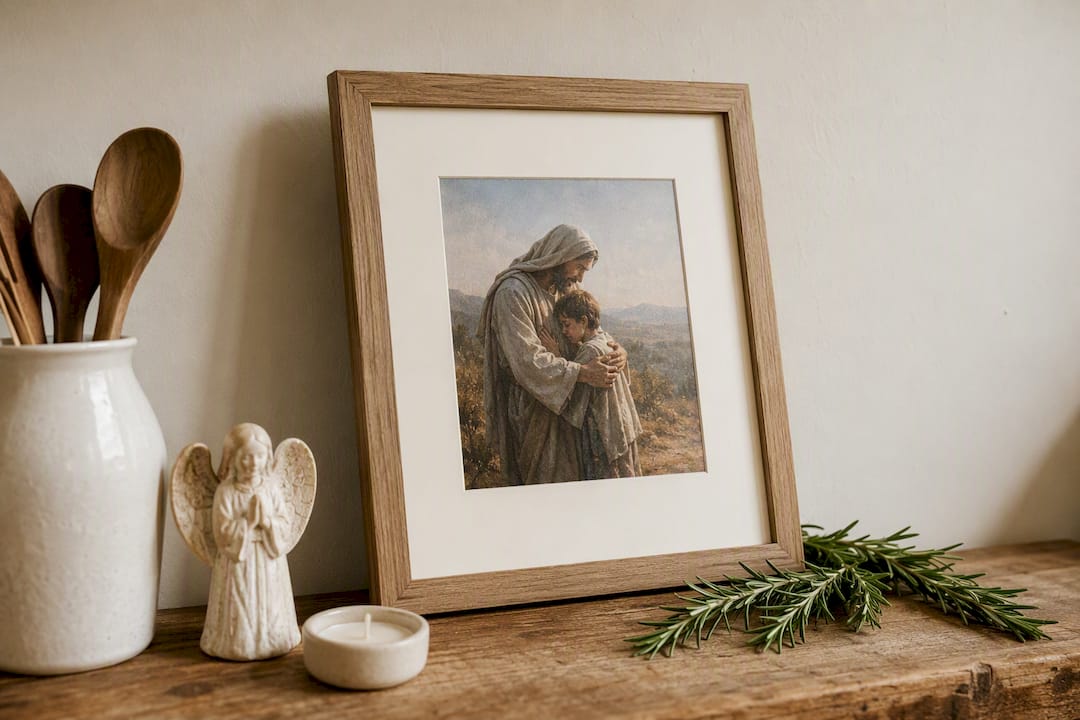
Here’s how the common combinations break down:
To figure out how much wall space a frame actually eats up, add twice the moulding width to the inner opening. A frame with an 11x14 inner opening and a 2 inch wide moulding takes up 15x18 inches total, since you add 2 inches to each side. Skip that math and you might discover your “small” frame doesn’t clear the light switch next to it. A frame size calculator does this arithmetic for you and flags outer footprint automatically.
For most buyers, buying the next standard size up and adding a mat beats paying for a fully custom frame. Save custom framing for oddball sizes, heirloom pieces, or art that doesn’t fit any standard proportion at all. If you’re building out a wall of prints, our guide on choosing art size for your wall walks through matching multiple frames to one space.
How Do You Size a Bicycle Frame Correctly?
Start with your inseam, not your height. Stand against a wall in the shoes you’ll ride in, place a book flat between your legs like a saddle, and measure from the floor to the top edge of the book. That’s your cycling inseam. For road bikes, the long-standing LeMond method multiplies that inseam by 0.65 to estimate your ideal frame size, measured center-to-top in centimeters. Mountain and hybrid bikes use a lower multiplier since they’re built with more standover clearance in mind.
A rough starting chart looks like this for adults:
- Inseam 27 to 29 inches: road frame around 49 to 51 cm, mountain frame extra small to small.
- Inseam 29 to 31 inches: road frame around 52 to 54 cm, mountain frame small to medium.
- Inseam 31 to 33 inches: road frame around 55 to 57 cm, mountain frame medium to large.
- Inseam 33 to 35 inches: road frame around 58 to 60 cm, mountain frame large to extra large.
Kids’ bikes skip centimeters entirely and size by wheel diameter, typically 16, 20, or 24 inches based on the child’s height and inseam.
Here’s the part most size charts skip entirely: two bikes both labeled “54 cm” can fit completely differently, because manufacturers define that number using different reference points on the frame. That’s why fitters lean on reach (horizontal distance from the bottom bracket to the head tube) and stack (vertical distance for the same two points) instead of the size label alone.
If you’re switching from a bike you already love, aim to keep reach within about 10 millimeters and stack within 15 millimeters of your current setup. That tolerance predicts comfort far better than seat tube length ever will.
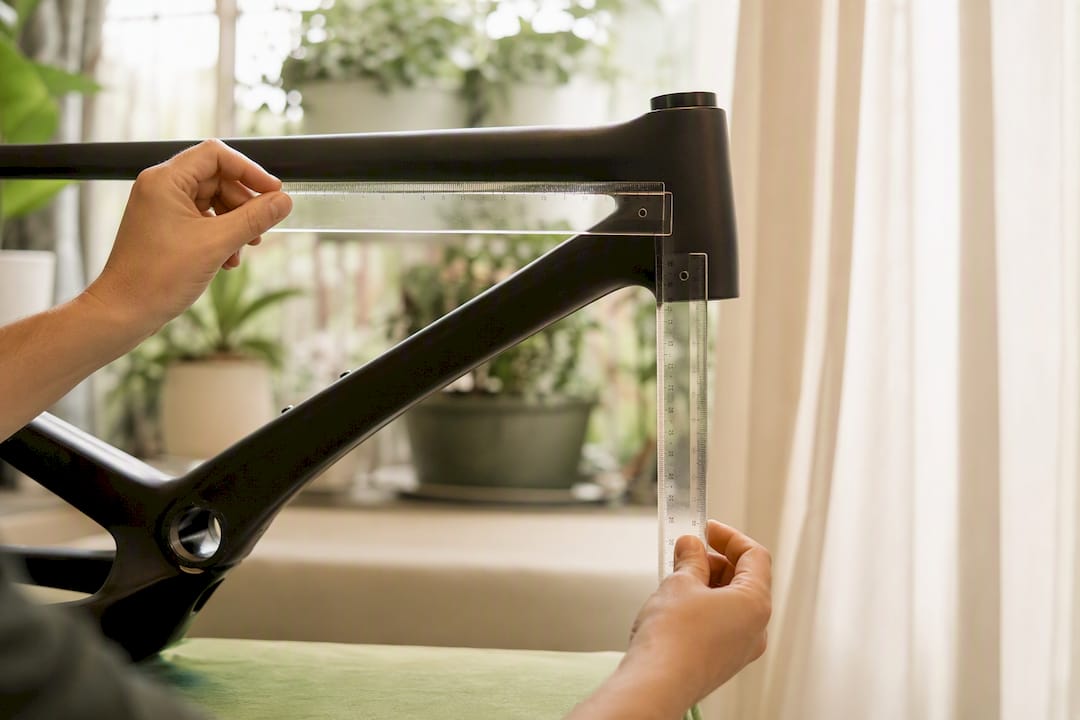
When you’re stuck between two sizes, size down. A smaller frame gives you room to adjust with a longer stem or raised seatpost, while a too-large frame has nowhere to go. If your shop suggests a stem swap larger than 30 millimeters to make a bike fit, that’s a sign you’re on the wrong frame, not just the wrong stem. Test ride before you buy, and if something still feels off after basic adjustments, a professional bike fit pays for itself in comfort alone.
How Divine Prints Sizes Framed Devotional Art
Divine Prints builds its framed collection around the same standard sizes covered above, on purpose — just like specialized window film services for places of worship help institutions preserve and display important artwork with clarity and care. Most prints of saints, Jesus, and Gospel scenes ship in 8x10, 11x14, and 16x20 openings, so customers rarely need custom framing to get a clean fit.
A few specific choices guide our framing:
- Mat borders on devotional prints typically run wider at the bottom, a classic “weighted bottom” technique that keeps a portrait from looking like it’s sliding out of the frame.
- Rabbet depth (how far the frame’s inner lip extends) is checked against print and mat thickness together so nothing bows or gaps behind the glass.
- Outer footprint gets calculated before shipping, so what arrives matches the wall space you measured, not just the print size you ordered.
Pro Tip: If you’re hanging a portrait-oriented saint print near eye level, ask for a slightly wider bottom mat. It corrects the optical illusion that makes centered art look too high.
What Actually Matters When You’re Choosing a Frame Size
Standard sizes win most of the time. For bikes, I’d rather see someone size down and live with a slightly longer stem than size up and fight a frame that never quite fits. For eyeglasses, bridge comfort beats every other spec on the label. If you want devotional art that’s ready to hang the day it arrives, a standard framed size is simply the easier path.
Skip the Custom Framing Guesswork With Divine Prints
Divine Prints sells devotional wall art already framed in the standard sizes covered in this guide, so you’re never stuck estimating mat math or outer footprint on your own. Every listing shows the inner opening size upfront, matched to a mat border built for portrait-style saint and scripture prints.
Picking a size is simple: measure your wall space, compare it against the listed frame dimensions on the product page, and choose the option that leaves a little breathing room on each side rather than a tight squeeze. If you already own a frame from a gallery wall and want a piece that matches, check the Saint Prints collection for sizes that slot in without reworking your layout. Browsing something specific? The Sacred Heart of Jesus print ships in the standard sizes discussed above and arrives ready to hang.
Sources
- Standard Picture Frame Sizes: The Complete Chart (US, Photo, Poster & A-Sizes)
- Picture Frame Size Calculator | Mat & Frame Dimensions
- Bike Size Calculator 2026: Free Frame Size Tool
- BikeRadar — bike sizing and fit advice
- Bike Frame Size Calculator — What Size Bike Do I Need?